
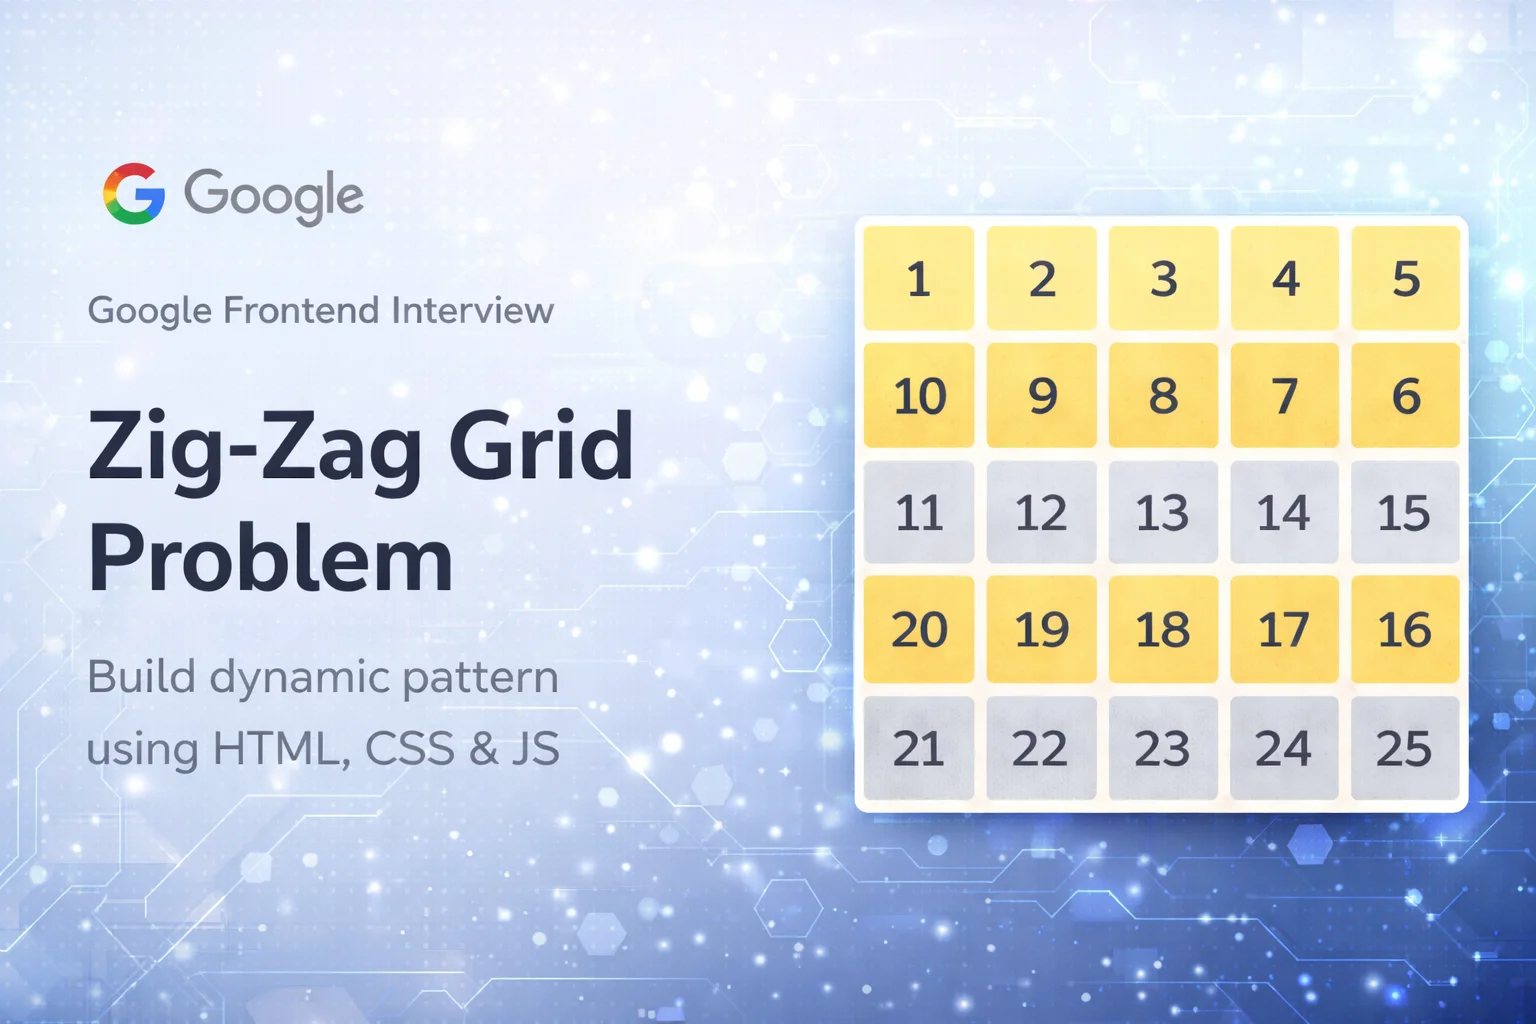
In this blog, we will explore a classic problem often encountered in platform-round interviews, particularly at Google. The task is to dynamically create a zig-zag numbered grid using HTML, CSS, and JavaScript. Given an input n, we will generate an n × n grid where numbers alternate direction in each row. This problem not only tests your DOM manipulation skills but also your logical thinking and ability to create a clean UI under real interview constraints.
Breaking Down the Problem
n, we can think of it as constructing a two-dimensional grid. The numbers in this grid will be filled sequentially but will alternate direction for each row:- For example, if
n = 5, the grid will look like this:
| 1 | 2 | 3 | 4 | 5 |
| 10 | 9 | 8 | 7 | 6 |
| 11 | 12 | 13 | 14 | 15 |
| 20 | 19 | 18 | 17 | 16 |
| 21 | 22 | 23 | 24 | 25 |
Approach
To tackle this problem, we can follow these steps:
- Initialize the grid: Create a two-dimensional array to hold the numbers.
- Loop through the rows: For each row, determine the direction of filling (left to right or right to left).
- Fill the grid: Based on the current direction, fill the row with numbers, updating the counter accordingly.
- Render the grid dynamically: Use JavaScript to create HTML elements and display the grid on the web page.
Solution
Below is a solution implemented in HTML, CSS, and JavaScript:
<!DOCTYPE html>
<html lang="en">
<head>
  <meta charset="UTF-8" />
  <title>Zig Zag Grid</title>
  <link rel="stylesheet" href="./index.css" />
</head>
<body>

  <div class="container">
    <h2>Zig-Zag Grid</h2>

    <div class="controls">
      <input type="number" id="sizeInput" placeholder="Enter n" />
      <button onclick="generateGrid()">Generate</button>
    </div>

    <div id="grid" class="grid"></div>
  </div>

  <script src="./index.js"></script>
</body>
</html>body {
font-family: Arial, sans-serif;
background: #f7f7f7;
display: flex;
justify-content: center;
margin-top: 40px;
}
.container {
text-align: center;
}
.controls {
margin-bottom: 20px;
}
input {
padding: 8px;
width: 100px;
margin-right: 10px;
}
button {
padding: 8px 12px;
cursor: pointer;
}
.grid {
display: grid;
gap: 6px;
justify-content: center;
}
.cell {
width: 50px;
height: 50px;
background: white;
border: 1px solid #ddd;
display: flex;
align-items: center;
justify-content: center;
font-weight: bold;
}function generateGrid() {
const n = parseInt(document.getElementById("sizeInput").value);
const grid = document.getElementById("grid");
// Clear previous grid
grid.innerHTML = "";
if (!n || n <= 0) return;
// Set grid columns dynamically
grid.style.gridTemplateColumns = `repeat(${n}, 50px)`;
let num = 1;
for (let row = 0; row < n; row++) {
let rowValues = [];
// Fill row normally
for (let col = 0; col < n; col++) {
rowValues.push(num++);
}
// Reverse every alternate row (zig-zag)
if (row % 2 === 1) {
rowValues.reverse();
}
// Render row
for (let value of rowValues) {
const cell = document.createElement("div");
cell.className = "cell";
cell.innerText = value;
grid.appendChild(cell);
}
}
}How It Works
- HTML: Sets up the basic structure with an input for the size of the grid, a button to generate the grid, and a div to hold the grid cells.
- CSS: Styles the grid, inputs, and buttons for a clean layout.
- JavaScript: Handles the logic for generating the zig-zag grid based on the inputted size. It fills the grid in the specified pattern and renders it in the designated div.
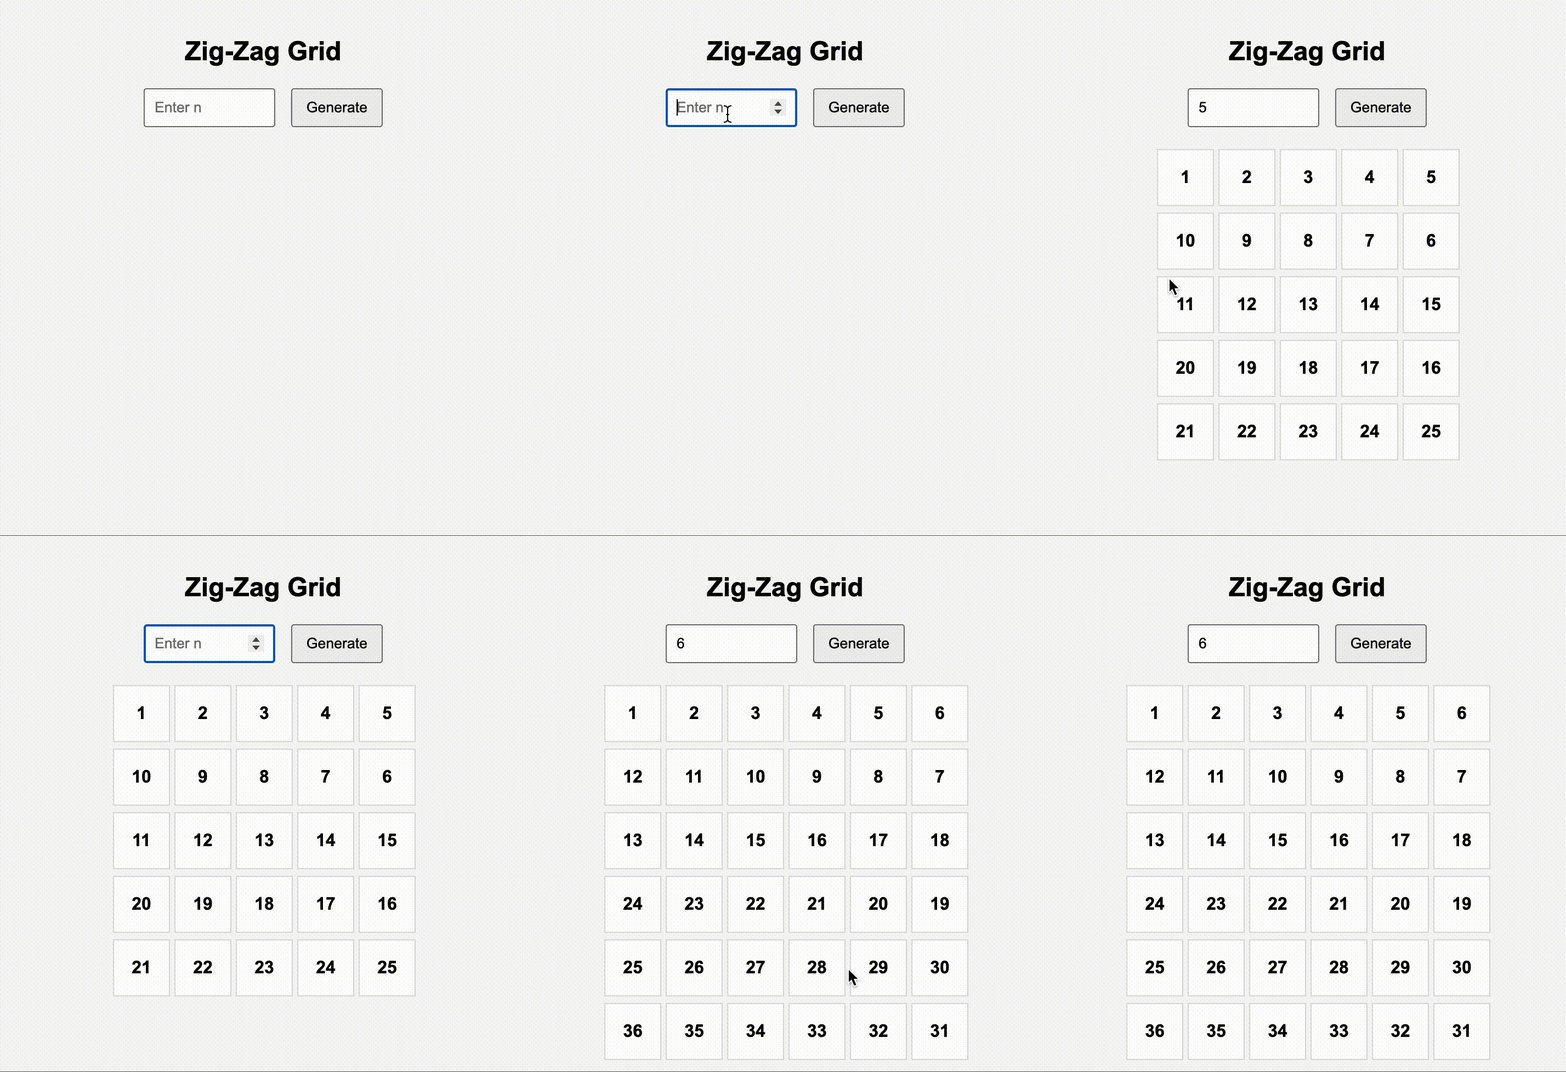
You can copy and paste each section into its own respective file (HTML, CSS, JavaScript) and then open the HTML file in your browser to see the zig-zag grid in action!
Conclusion
Creating a zig-zag grid is an excellent exercise for frontend developers preparing for interviews. This problem allows you to showcase your problem-solving skills and your ability to manipulate the DOM efficiently. By following the structured approach outlined above, you can develop a clean solution and become more confident in tackling similar problems in the future. Remember, practice makes perfect!